
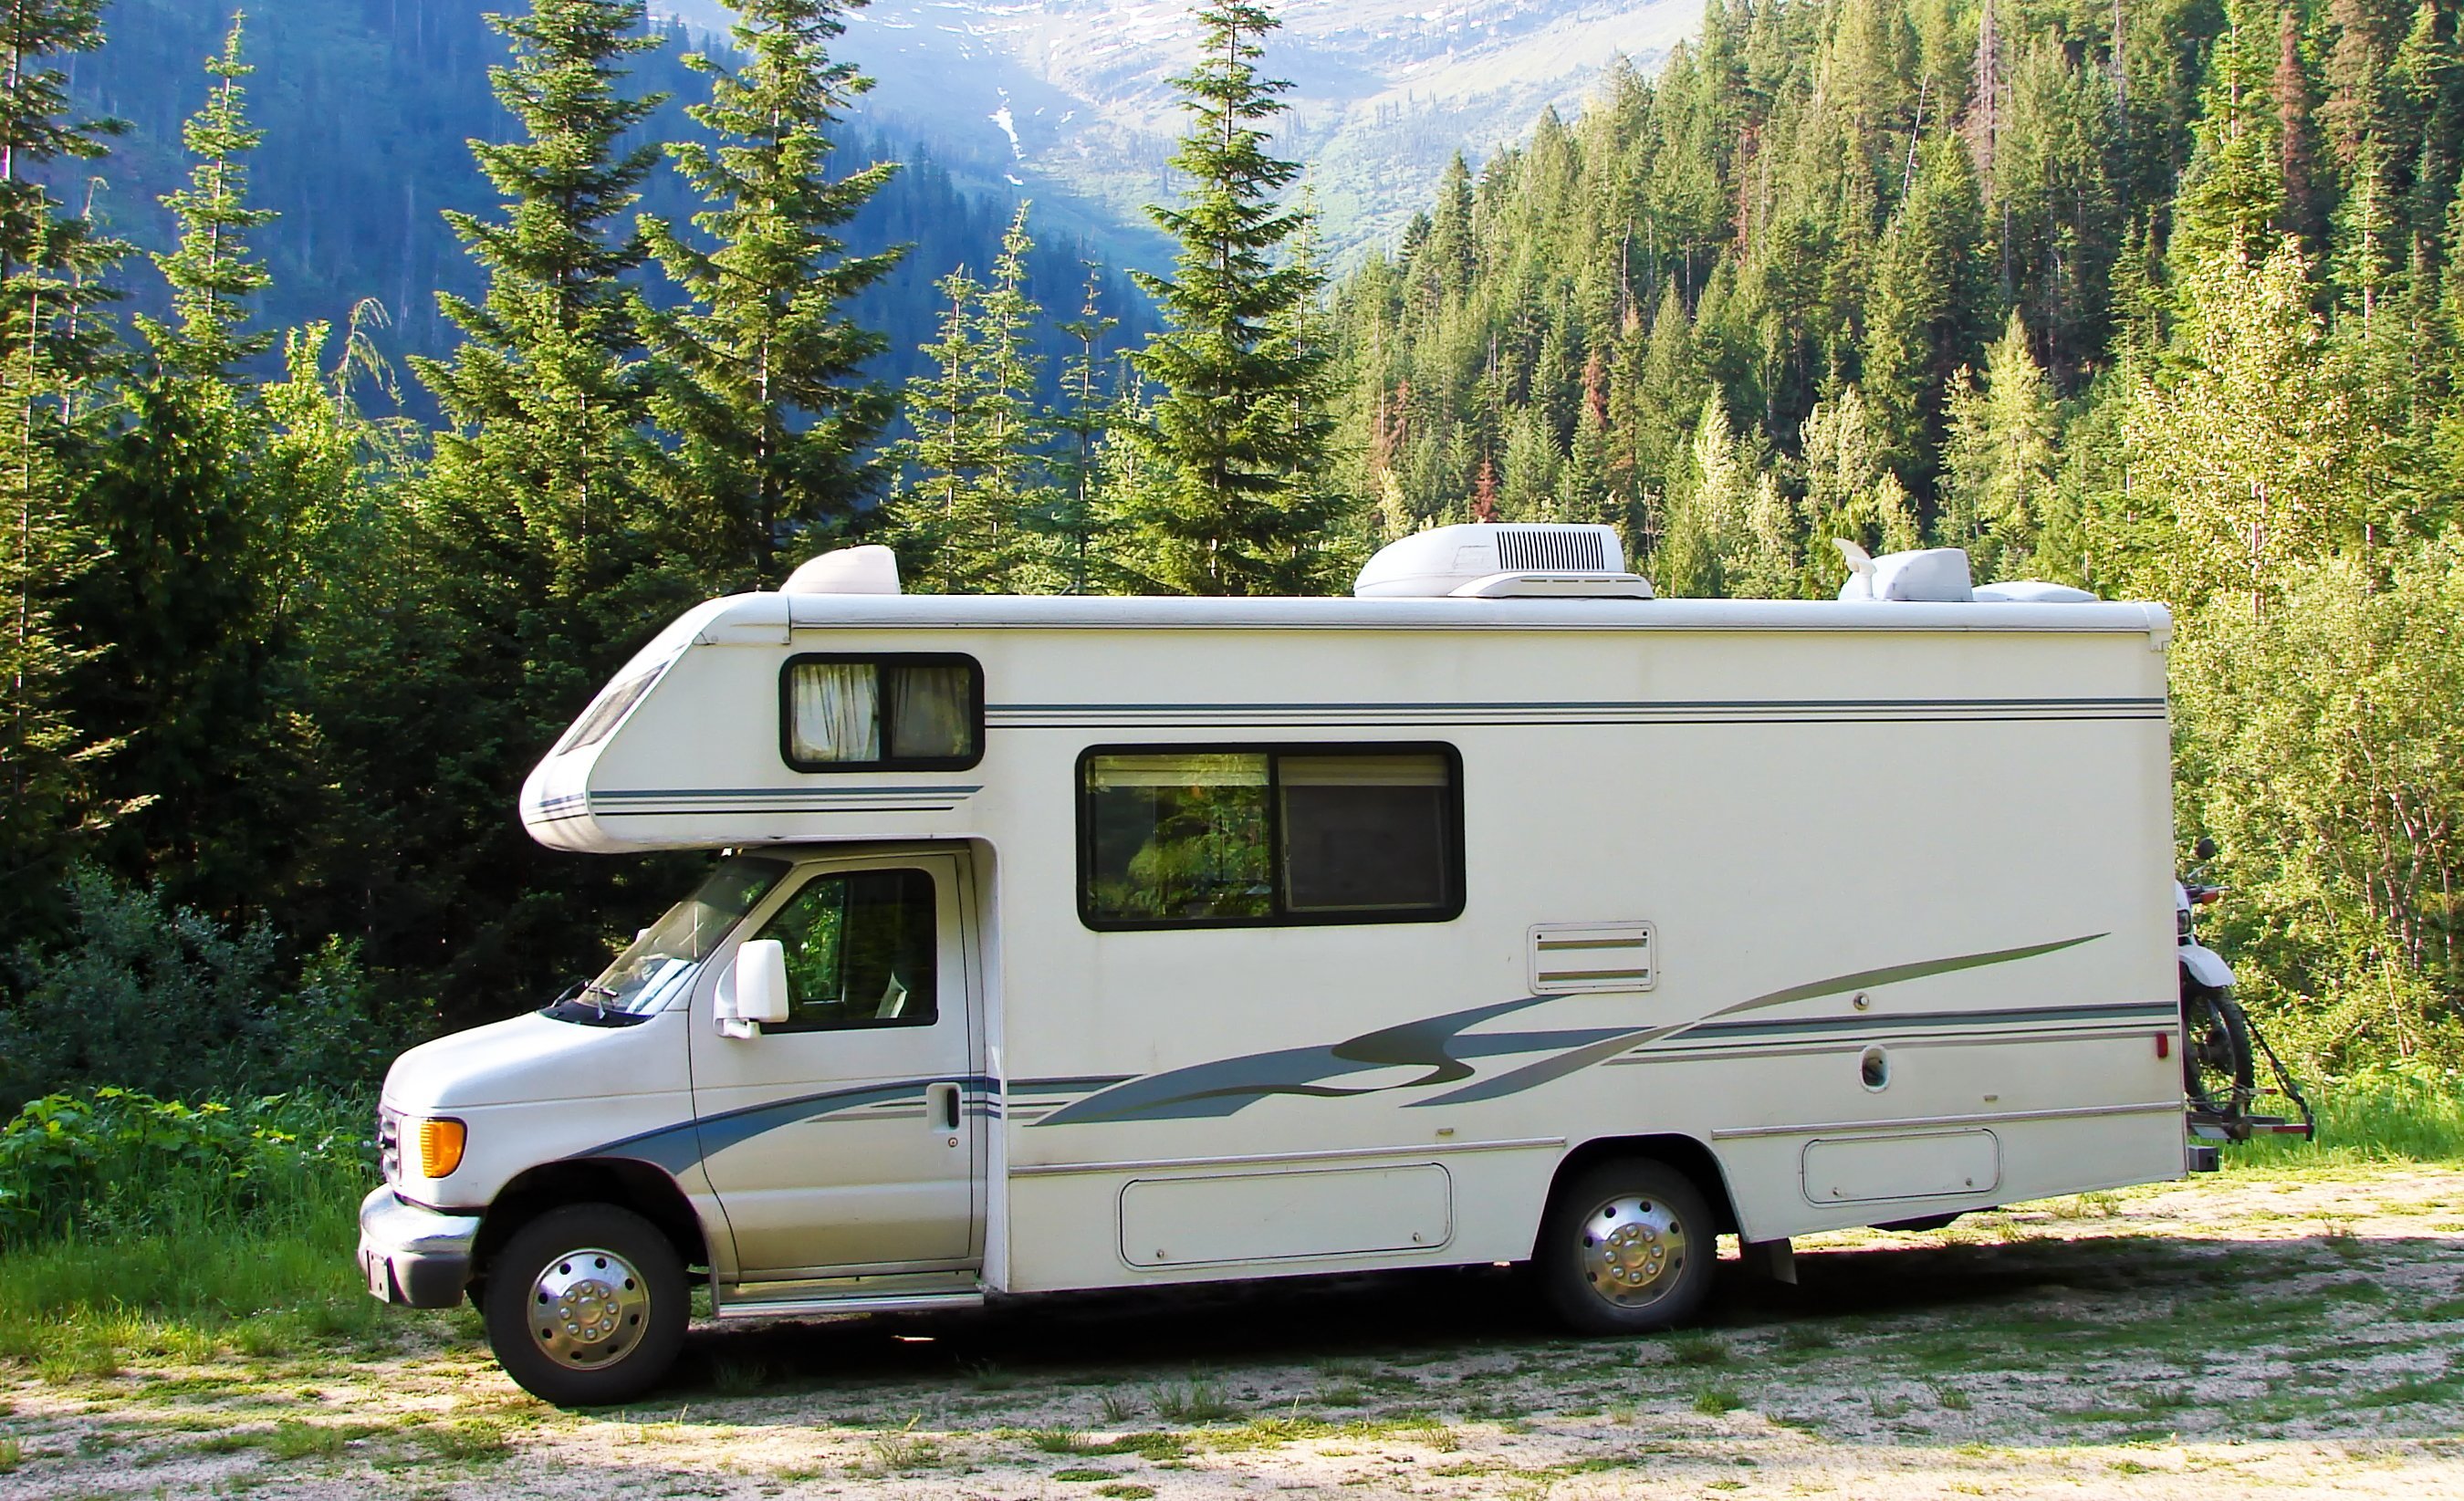
That dreaded drip. It starts subtly, almost unnoticeable, but before you know it, your RV's city water connection is leaking, costing you precious water and potentially causing water damage inside your rig. Don't let a faulty connection ruin your RV adventure!
Dealing with a leaky city water connection can be a real headache. Figuring out the right replacement parts, navigating confusing online catalogs, and worrying about improper installation can quickly turn a simple repair into a frustrating ordeal. It’s inconvenient, time-consuming, and could lead to bigger problems down the road if not addressed correctly.
This guide is your comprehensive resource for replacing your RV's city water connection. We'll cover everything from identifying the necessary parts and their corresponding part numbers to offering step-by-step instructions and helpful tips to ensure a successful and leak-free replacement. Let's get that water flowing the right way!
In this guide, we've explored the importance of a properly functioning city water connection, offering practical advice on identifying the correct replacement parts, understanding installation procedures, and addressing potential issues. We've also touched upon common problems, valuable tips, and fun facts. By following this guidance, you can confidently tackle this repair and ensure a reliable water supply for your RV adventures. Keywords included are RV water connection, RV repair, RV plumbing, city water inlet, RV DIY, and water leak repair.
My RV City Water Connection Nightmare
Let me tell you about the time I thought I could fix anything. We were on a cross-country trip, enjoying the stunning landscapes, when I noticed a small puddle forming near the city water connection of our RV. "No big deal," I thought. "I'll just tighten it." Famous last words! I ended up stripping the plastic threads, making the leak even worse. Suddenly, our RV became a mobile water fountain.
The nearest RV supply store was miles away, and the thought of driving with a constantly leaking water connection filled me with dread. After a frantic search online, I finally found a replacement part, but I wasn't entirely sure if it was the right one. The diagrams were confusing, and the descriptions were full of technical jargon I didn't understand. I ended up ordering a part thatlookedright, hoping for the best. When it arrived, it was slightly different, but I managed to make it work with some creative (and probably not recommended) modifications. It held for the rest of the trip, but I knew I needed to do it correctly when I got home.
This experience taught me the value of proper research, accurate part numbers, and a little bit of patience. That's why I'm sharing this guide with you. I want to help you avoid the mistakes I made and ensure a smooth and successful RV city water connection replacement.
What is an RV City Water Connection?
The RV city water connection is essentially the gateway for fresh water to enter your RV's plumbing system when you're hooked up to an external water source, like at a campground or RV park. It's typically a threaded inlet, usually made of plastic or brass, that allows you to connect a standard water hose. When you connect your hose to this inlet and turn on the water supply, the water flows through your RV's pipes, providing you with pressurized water for showers, sinks, toilets, and other appliances.
Think of it as the RV's "drinking fountain" connection. It allows you to bypass your RV's freshwater tank and directly access a continuous water supply. A functional city water connection is crucial for comfortable RV living, especially during extended stays where conserving water is important. Without it, you'd be relying solely on your freshwater tank, which requires constant refilling and monitoring.
The city water connection is a seemingly simple component, but it plays a vital role in your RV's plumbing system. Understanding its function and importance is the first step in properly maintaining it and addressing any potential issues.
The History and Myth of RV City Water Connections
While the exact origin of the RV city water connection is difficult to pinpoint, its evolution mirrors the development of RVing itself. Early RVs, essentially modified cars and trucks, relied solely on onboard water tanks. As RVing became more popular and campgrounds began offering water hookups, the need for a convenient connection point arose.
Initially, these connections were likely rudimentary, perhaps simple threaded fittings adapted from other plumbing applications. Over time, RV manufacturers developed standardized city water inlets designed specifically for RV use. These inlets incorporated features like backflow preventers to protect the campground water supply and durable materials to withstand the rigors of travel.
One common myth surrounding RV city water connections is that all leaks are due to faulty inlets. While this is often the case, leaks can also originate from the hose connection, the internal check valve, or even the plumbing lines connected to the inlet. Proper diagnosis is crucial to identify the actual source of the leak and avoid unnecessary replacements. Another myth is that you need expensive tools to replace it. With the right tools and some patience, it's a fairly straightforward repair that most RVers can tackle themselves.
The Hidden Secret of RV City Water Connection Replacement
The "hidden secret" to successfully replacing your RV's city water connection lies in the details. It's not just about swapping out the old inlet for a new one; it's about understanding the underlying plumbing system and addressing any potential contributing factors to the failure.
For example, before installing the new inlet, thoroughly inspect the surrounding plumbing lines for any signs of damage or corrosion. A kinked or cracked line can put undue stress on the connection, leading to premature failure. Similarly, check the water pressure at the campground's spigot. Excessively high water pressure can overwhelm the inlet and cause leaks or even bursts. Consider using a water pressure regulator to protect your RV's plumbing system.
Another often overlooked secret is the importance of using the correct sealant or thread tape. Applying these materials properly ensures a watertight seal and prevents future leaks. Finally, don't overtighten the connections. Overtightening can damage the threads and actually cause leaks. A snug fit is usually sufficient.
Recommendation of RV City Water Connection Replacement
When it comes to replacing your RV's city water connection, I highly recommend investing in a quality replacement part from a reputable manufacturer. While cheaper alternatives may seem tempting, they often lack the durability and reliability needed for long-term use. Look for inlets made from durable materials like brass or reinforced plastic. Also, ensure the replacement part is compatible with your RV's plumbing system.
Before starting the replacement, gather all the necessary tools and supplies, including a wrench, pliers, thread tape or sealant, and a bucket to catch any dripping water. It's also a good idea to have a backup plan in case something goes wrong. Consider having a mobile RV repair technician on standby or knowing the location of the nearest RV supply store.
Finally, take your time and follow the instructions carefully. Rushing the process can lead to mistakes and potentially cause further damage. If you're unsure about any step, don't hesitate to consult a professional or seek advice from experienced RVers. Online forums and social media groups can be valuable resources for troubleshooting and getting real-world tips.
Identifying the Right Replacement Part Numbers
Finding the correct replacement part for your RV's city water connection can feel like deciphering a secret code. There's a dizzying array of inlets, fittings, and sizes, and getting the wrong part can lead to frustration and wasted time. The key is to gather as much information as possible about your existing connection before heading to the store or searching online. Start by taking a close look at the existing inlet. Note the material (plastic or brass), the thread type (male or female), and the thread size (usually ½ inch or ¾ inch). Also, check for any identifying marks or part numbers stamped on the inlet itself.
If you can't find a part number, try searching online using a combination of keywords, such as "RV city water inlet," "fresh water connection," and the make and model of your RV. Many RV parts suppliers have online catalogs with detailed diagrams and specifications to help you find the right match. Another helpful resource is your RV's owner's manual. The manual may contain information about the plumbing system, including the part number for the city water connection.
Finally, don't be afraid to ask for help from the experts. Contact your RV dealer or a reputable RV repair shop. They can often identify the correct part based on your RV's VIN number or a description of the existing connection. Once you have the part number, double-check it against the specifications of the replacement part to ensure compatibility. Pay close attention to the thread type, size, and material to avoid any surprises during the installation process.
Tips for a Smooth RV City Water Connection Replacement
Replacing your RV's city water connection doesn't have to be a daunting task. With a little preparation and the right techniques, you can make the process smooth and efficient. First and foremost, disconnect the water supply and relieve any pressure in the RV's plumbing system before you start. This will prevent water from spraying everywhere when you remove the old inlet.
When removing the old inlet, use a wrench or pliers to gently loosen the connections. Avoid using excessive force, as this can damage the surrounding plumbing. If the inlet is stuck, try applying a penetrating oil or heat to loosen the threads. Once the old inlet is removed, clean the area thoroughly and inspect the surrounding plumbing lines for any signs of damage or corrosion. Replace any damaged lines before installing the new inlet.
Apply thread tape or sealant to the threads of the new inlet before connecting it to the plumbing lines. Wrap the tape in the correct direction (usually clockwise) to ensure a tight seal. Tighten the connections snugly, but avoid overtightening. Once the installation is complete, turn on the water supply slowly and check for leaks. If you spot any leaks, tighten the connections further or reapply thread tape or sealant.
Essential Tools for RV Plumbing Repairs
Having the right tools on hand can make all the difference when it comes to RV plumbing repairs. A basic plumbing toolkit should include a variety of wrenches, pliers, screwdrivers, and a pipe cutter. Adjustable wrenches are particularly useful for working with different sizes of fittings and connections. Pliers can be used to grip and turn stubborn nuts and bolts. Screwdrivers are essential for removing and installing screws and clamps. A pipe cutter is handy for trimming plastic or copper pipes to the desired length.
In addition to these basic tools, consider investing in a few specialized items, such as a thread tape dispenser, a pipe wrench, and a water pressure regulator. A thread tape dispenser makes it easier to apply thread tape evenly and consistently. A pipe wrench provides extra leverage for loosening and tightening large fittings. A water pressure regulator protects your RV's plumbing system from excessively high water pressure. When selecting tools, opt for quality brands that are durable and reliable. Cheaper tools may break or wear out quickly, leading to frustration and wasted money.
Finally, don't forget to include safety gear in your plumbing toolkit. Wear safety glasses to protect your eyes from debris and gloves to protect your hands from dirt and chemicals. A first-aid kit is also a good idea in case of minor injuries.
Fun Facts About RV City Water Connections
Did you know that some RV city water connections come with built-in water filters? These filters help remove sediment and impurities from the water supply, improving the taste and quality of your drinking water. Another fun fact is that the standard thread size for RV city water connections is typically ¾ inch garden hose thread (GHT). This makes it easy to connect a variety of hoses and fittings to your RV's plumbing system.
RV city water connections are often made of brass or plastic. Brass is a durable and corrosion-resistant material that is ideal for plumbing applications. Plastic is a lightweight and cost-effective alternative that is also resistant to corrosion. Some RVs have multiple city water connections, allowing you to connect to different water sources or appliances. For example, you might have one connection for the fresh water supply and another for a water heater or washing machine.
The design of RV city water connections has evolved over time to meet the changing needs of RVers. Early connections were often simple threaded fittings, while modern connections may include features like backflow preventers, pressure regulators, and quick-connect fittings. These advancements have made it easier and more convenient to connect to water sources and maintain a reliable water supply while on the road.
How to Properly Seal an RV City Water Connection
Properly sealing your RV city water connection is crucial to prevent leaks and ensure a reliable water supply. The most common method for sealing the connection is to use thread tape, also known as Teflon tape or plumber's tape. Thread tape is a thin, white tape that is wrapped around the threads of the inlet before connecting it to the plumbing lines. The tape creates a watertight seal by filling in the gaps between the threads.
To apply thread tape correctly, start by cleaning the threads of the inlet and removing any dirt or debris. Then, wrap the tape around the threads in the correct direction (usually clockwise). Overlap the tape slightly with each wrap, and apply several layers to ensure a tight seal. When tightening the connection, the tape will compress and conform to the shape of the threads, creating a leak-proof barrier.
Another option for sealing RV city water connections is to use a pipe sealant or thread sealant. These sealants are typically applied to the threads with a brush or applicator. They create a flexible, watertight seal that is resistant to chemicals and temperature changes. When selecting a sealant, choose one that is specifically designed for plumbing applications and is compatible with the materials of the inlet and plumbing lines. Follow the manufacturer's instructions for application and curing time.
What if My RV City Water Connection Still Leaks?
Even after replacing your RV's city water connection and properly sealing the threads, you may still encounter leaks. In this case, it's important to troubleshoot the problem and identify the source of the leak. Start by checking the connections for tightness. Make sure all fittings are snug and secure, but avoid overtightening, as this can damage the threads. If the connections are tight, inspect the plumbing lines for any signs of damage or corrosion. Look for cracks, kinks, or leaks in the lines.
If the plumbing lines are in good condition, check the water pressure at the campground's spigot. Excessively high water pressure can overwhelm the inlet and cause leaks. Consider using a water pressure regulator to protect your RV's plumbing system. Another potential cause of leaks is a faulty backflow preventer. The backflow preventer is a valve that prevents water from flowing back into the campground's water supply. If the backflow preventer is not functioning properly, it can cause leaks at the inlet.
If you've checked all these potential causes and the leak persists, it's time to consult a professional. Contact an RV repair technician or plumber to diagnose the problem and recommend a solution. They may need to inspect the entire plumbing system to identify the source of the leak and make any necessary repairs.
Top 5 Common Issues with RV City Water Connections
Here's a listicle highlighting the top five common issues you might encounter with your RV city water connection:
- Leaky Threads: This is perhaps the most frequent issue. Often caused by worn-out threads, incorrect sealing, or overtightening, resulting in a persistent drip.
- Cracked Housing: Exposure to extreme temperatures or physical impact can lead to cracks in the inlet housing, causing leaks and compromising the connection's integrity.
- Faulty Check Valve: The check valve prevents backflow into the city water supply. If it fails, water can flow in the wrong direction, leading to pressure issues and potential contamination.
- Corroded Fittings: Over time, exposure to moisture and chemicals can cause corrosion on the fittings, weakening the connection and causing leaks.
- Incorrect Installation: Improper installation, such as using the wrong sealant or overtightening connections, can create weak points and lead to premature failure.
Question and Answer Section
Here are some frequently asked questions about RV city water connection replacement:
Q: How often should I replace my RV city water connection?
A: There's no set timeframe, but inspect it regularly for leaks, cracks, or corrosion. Replace it if you notice any of these issues, or every 5-7 years as a preventative measure.
Q: Can I use regular plumbing fittings for my RV's city water connection?
A: It's generally not recommended. RV plumbing fittings are designed to withstand the vibrations and stresses of travel. Use RV-specific fittings for optimal performance and longevity.
Q: What type of sealant should I use on my RV city water connection?
A: Teflon tape (thread seal tape) is a common and effective choice. You can also use a pipe dope sealant specifically designed for potable water systems.
Q: How do I prevent my RV city water connection from freezing in cold weather?
A: Disconnect the water hose and drain the inlet completely. Consider using a heat tape or wrapping the inlet with insulation to prevent freezing temperatures from damaging the connection.
Conclusion of RV City Water Connection Replacement
Replacing your RV city water connection is a manageable task that can save you money and prevent potential water damage. By understanding the components involved, following the steps outlined in this guide, and taking your time, you can confidently tackle this repair and ensure a reliable water supply for all your RV adventures. Remember to always prioritize safety, use the correct parts and tools, and don't hesitate to seek professional help if needed. Happy RVing!